Crimson Desert Bosses Guide

Crimson Desert's boss coverage is strongest when it stays practical: where the fight sits in your route, what kind of encounter it appears to be, how to prepare your camera and stamina, and what to revisit after patch changes or boss rematches.

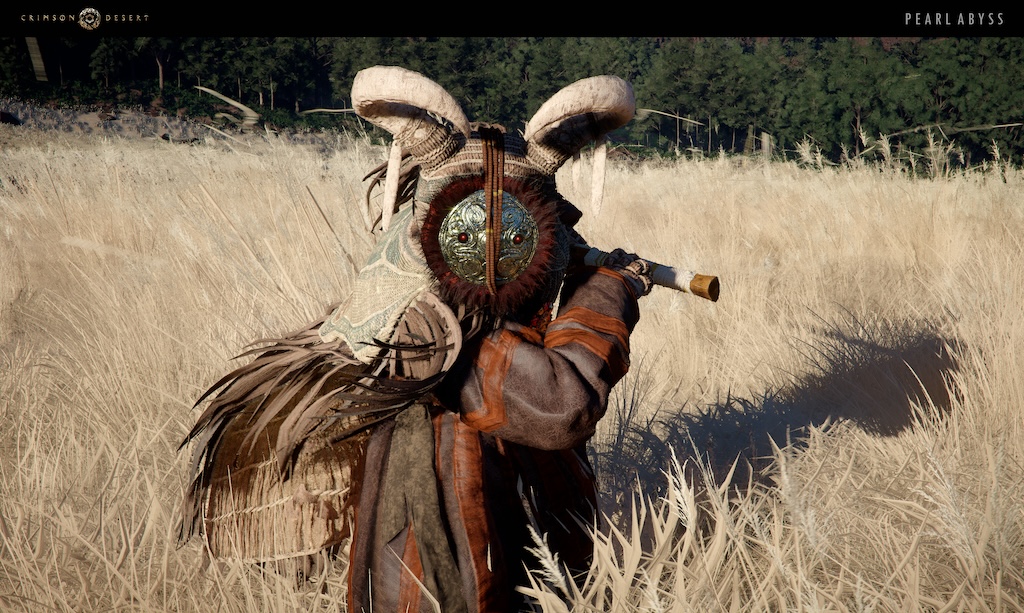
Crimson Desert White Horn boss

White Horn

A large, spectacle-focused creature encounter. Treat the first attempt as a camera and spacing lesson rather than a damage race.

  • Keep the full body in view when possible
  • Use short tests before committing heavy attacks
  • Reset distance after big movement strings

Crimson Desert Staglord boss

Staglord

Best handled as a rhythm fight: wait for readable recovery windows, then punish without draining all stamina.

  • Watch antler and shoulder movement
  • Do not chase blindly after disengage
  • Use terrain to rebuild spacing
Crimson Desert Reed Devil boss

Reed Devil

A humanoid-style encounter should be approached with patience. Read the weapon hand, identify unsafe strings, and avoid panic dodges.

  • Test light attacks first
  • Learn which strings can be interrupted
  • Heal only after clear separation
Crimson Desert Queen Stoneback Crab boss

Queen Stoneback Crab

A creature fight where size and armor presentation matter. Keep moving around the body and avoid getting trapped at the edge of the arena.

  • Circle instead of backing straight away
  • Watch ground pressure and body turns
  • Save burst damage for exposed windows
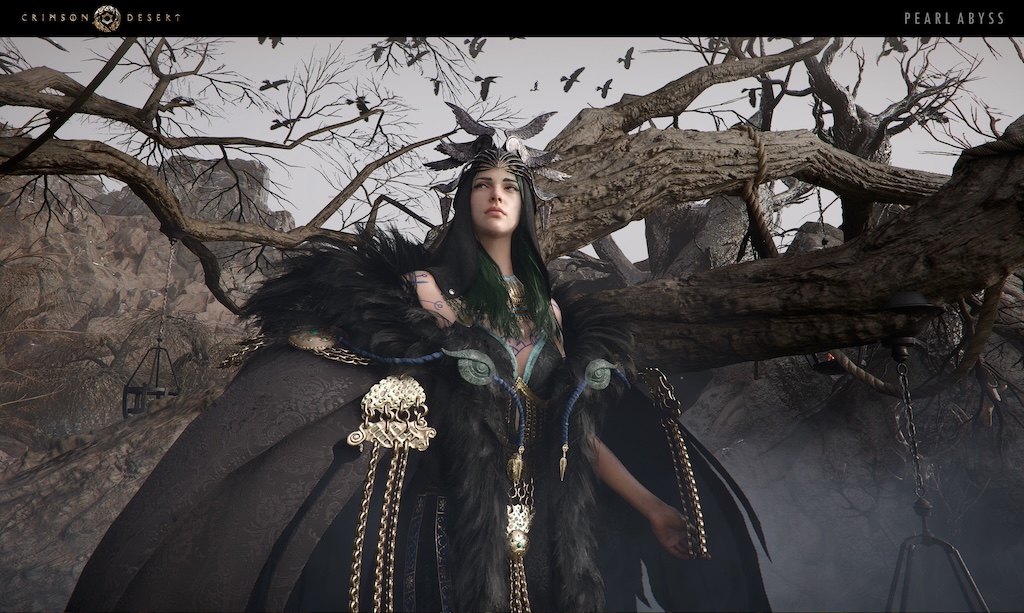
Crimson Desert Hexe Marie boss

Hexe Marie

Use this slot for story and magic-leaning boss notes as more official details or player-verified strategies become available.

  • Separate story spoilers from mechanics
  • Track arena hazards
  • Update after official patch notes

Boss Route Workflow

Before a boss route, check storage, repair, fast-travel options, and current difficulty. After a clear, write down the arena, attack tells, recovery windows, and whether the fight is available for rematch. Continue with the Pywel map guide and beginner guide.